

Controller Installation Continued
The controller is held in place by 4 screws and anchors. The 5th screw and anchor is for the cover tamper. The idea is if someone broke into your house, ripped your controller off the wall. The tamper tab would break away from the back plate and stay attached to the wall. If the alarm was armed, this would immediately activate the alarm and notify your monitoring company.
The controller has a plastic "hook" that lets you hang it from the backplate while you work on it. Essentially, a third hand. At this time, you'll want to hook up the battery backup. The plug will only connect one way, so you can't put it on backwards. Now we can hook up or power cables. Remember the red wire is going to +9VDC and the black wire is going to GND. These wires just push into the screw terminal holes. Tighten the screws down onto the wires and that's it.
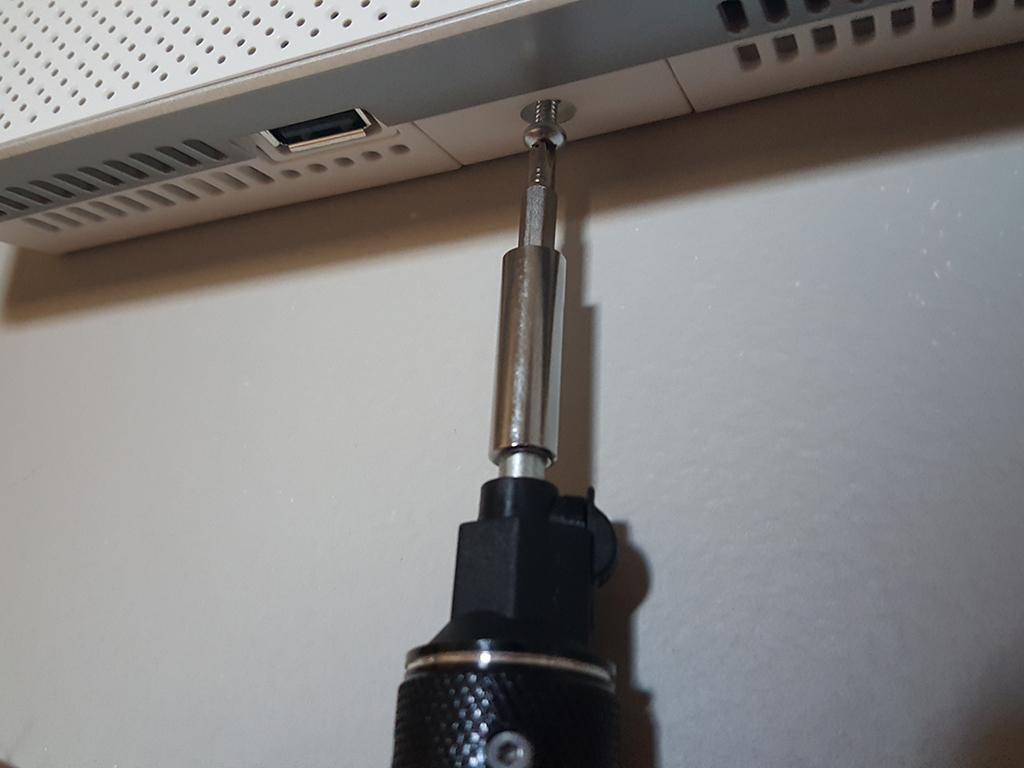
Snap the controller onto the backplate and secure it into place with the small phillips screw on the bottom. The screw is located next to a USB port. This port will be used to add pictures
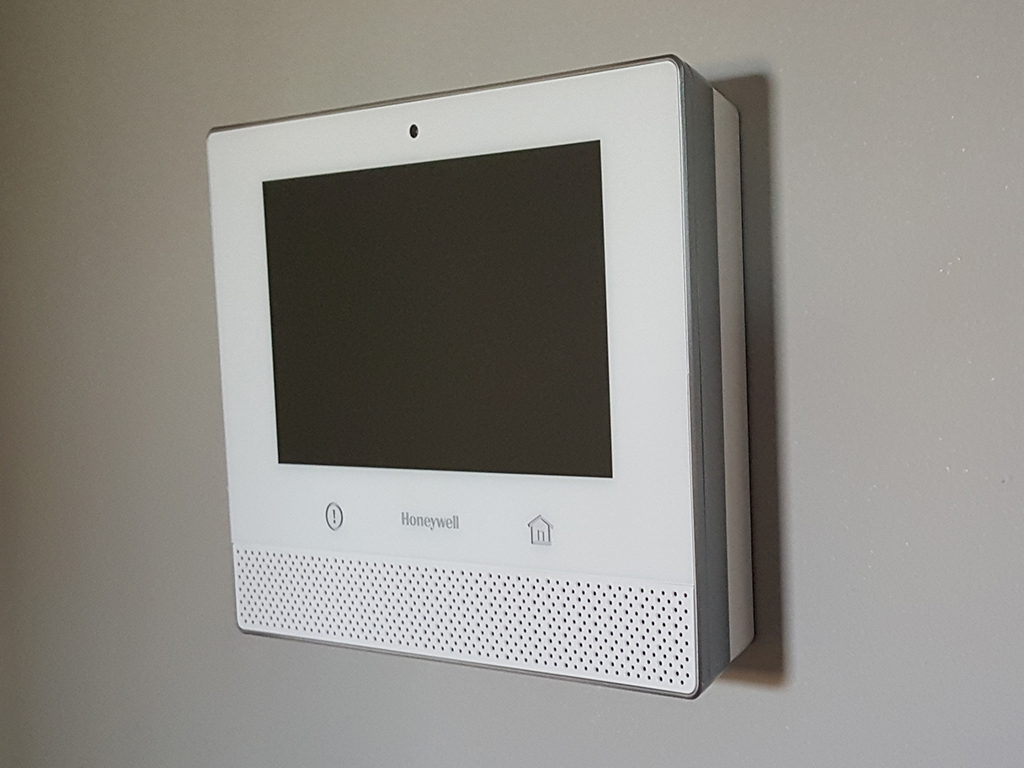
That's it. The controller is installed. This was the most difficult part of the installation. The rest is going to be even easier
Installing the Sensors
 The Honeywell Lryic alarm system uses the SiXCT sensors. These sensors have a range of over 300ft. They also have two-way communication with the controller. Sensors that don't have two-way communication will continually send a signal to the controller when it's triggered. This could be for 30 seconds or a minute. The SixCT sensors will send a signal once it's triggered, but will also recieve a signal from the controller letting it know the message has been recieved. The SiXCT sensors will stop sending signals at that point. This reduces the time the sensor is sending signals and helps prolong the battery life of the sensor.
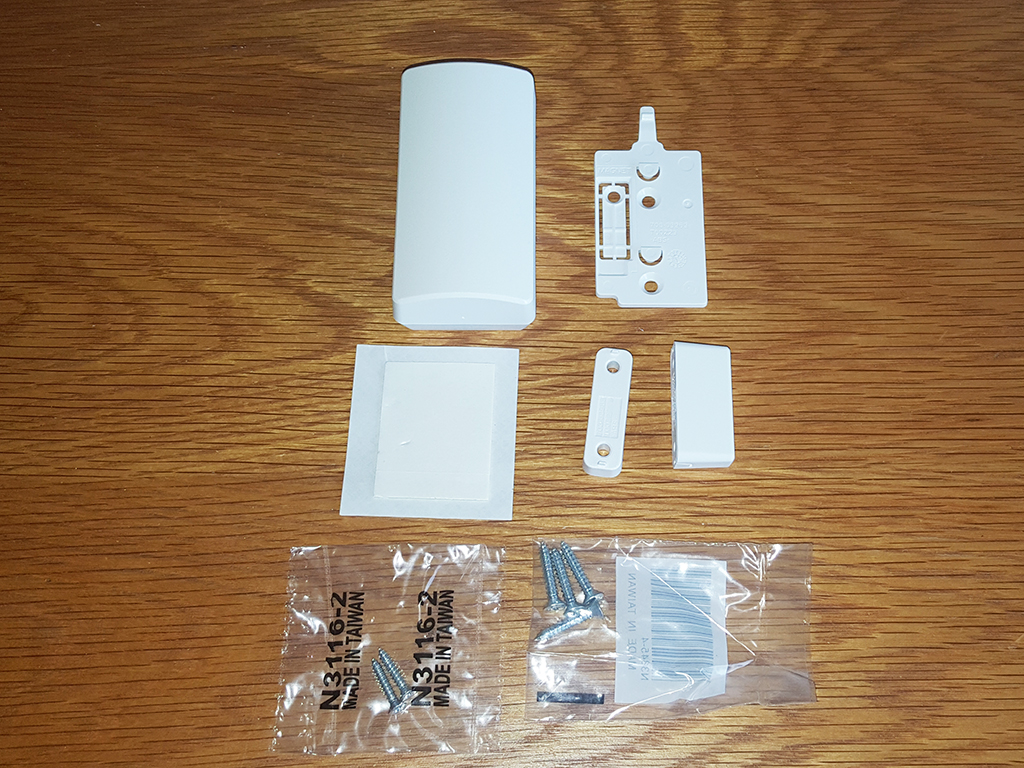
The door/window sensor includes the sensor, the magnet and a spacer that looks like a lego. It can be mounted a couple of different ways. Honeywell includes screws and double-sided tape. I used the screws so the install was a little more involved. If you want to use the tape, just peel and stick and you're done. Whether you use the screws or the tape, the important part here is to make sure the magnet is within 1 inch from the sensor.
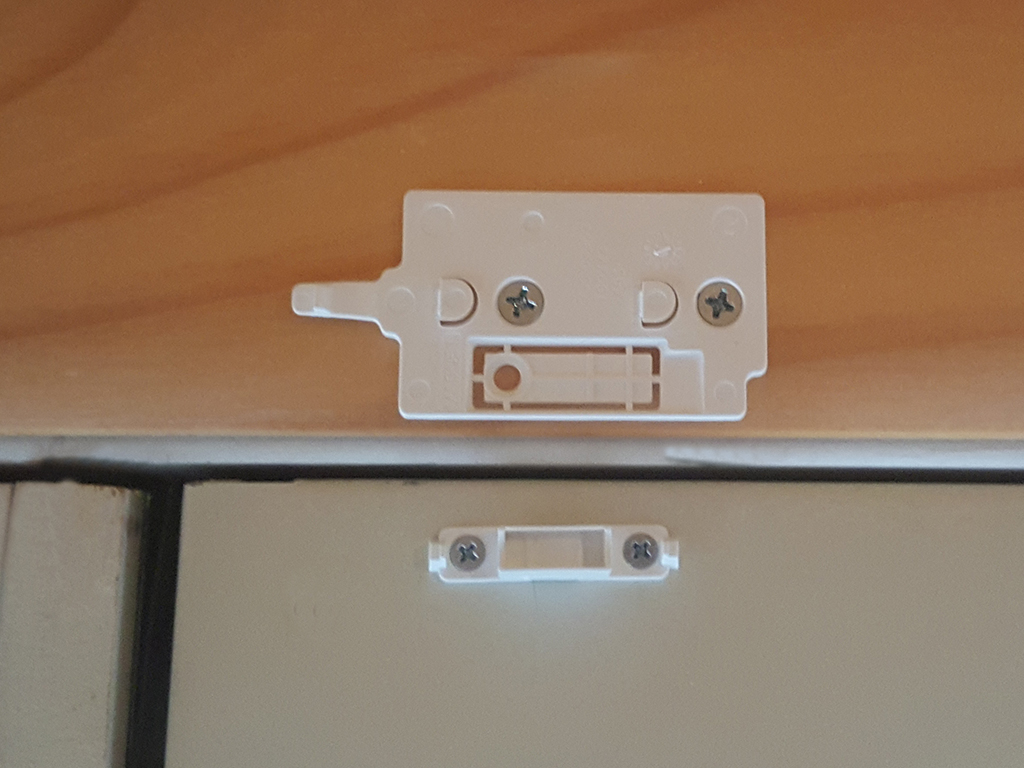 Start with the sensor that is farthest from the controller. Pick the spot for the install. Make sure you have a maximum of 1 inch between the sensor and the magnet. Use the spacer, as needed, to align the height of the magnet with the sensor. I did not need to use it on this install. Align the magnet backplate with the markings on the sensor backplate. Once everything is where you want it, mark the holes and drill some pilot holes.
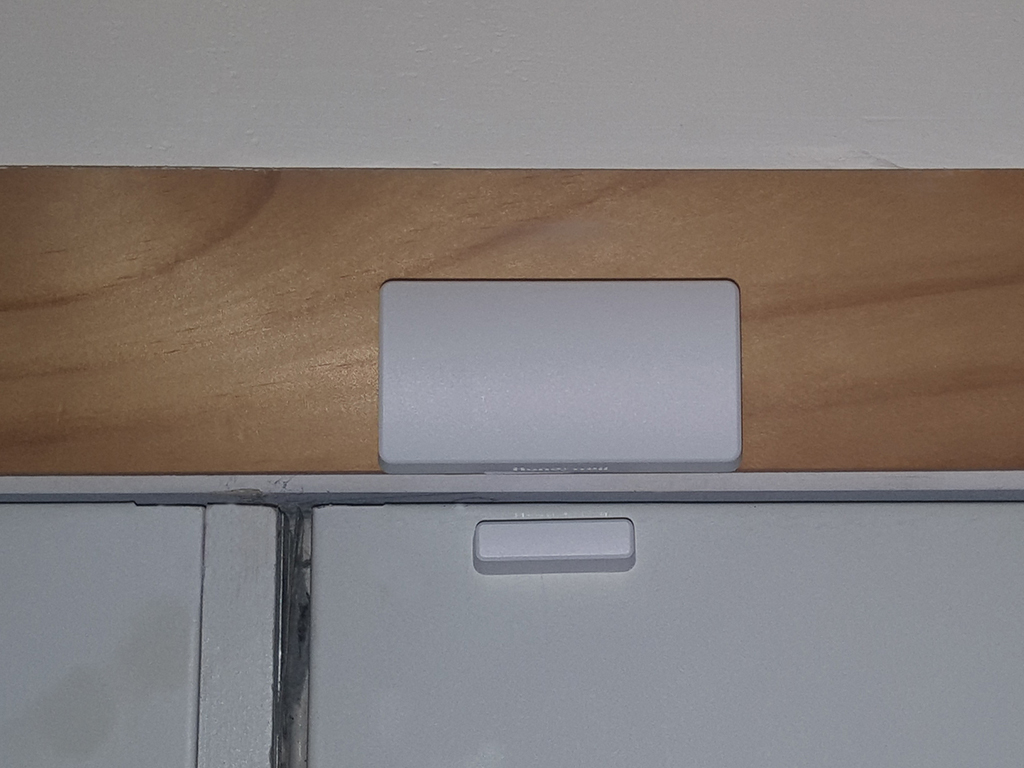 Finish the install by pulling the plastic battery tab and reattach the sensor to the mounting plate. Pulling the battery tab activates the pairing process so make sure the controller is in program mode. Make sure you are on the phone with your security expert or with Honeywell while you are pairing the sensors. They'll walk you through that part of the installation. This guide is simply the physical installation.
Repeat this for all of your windows and doors that will be monitored by sensors.