
Honeywell Lyric Alarm Installation
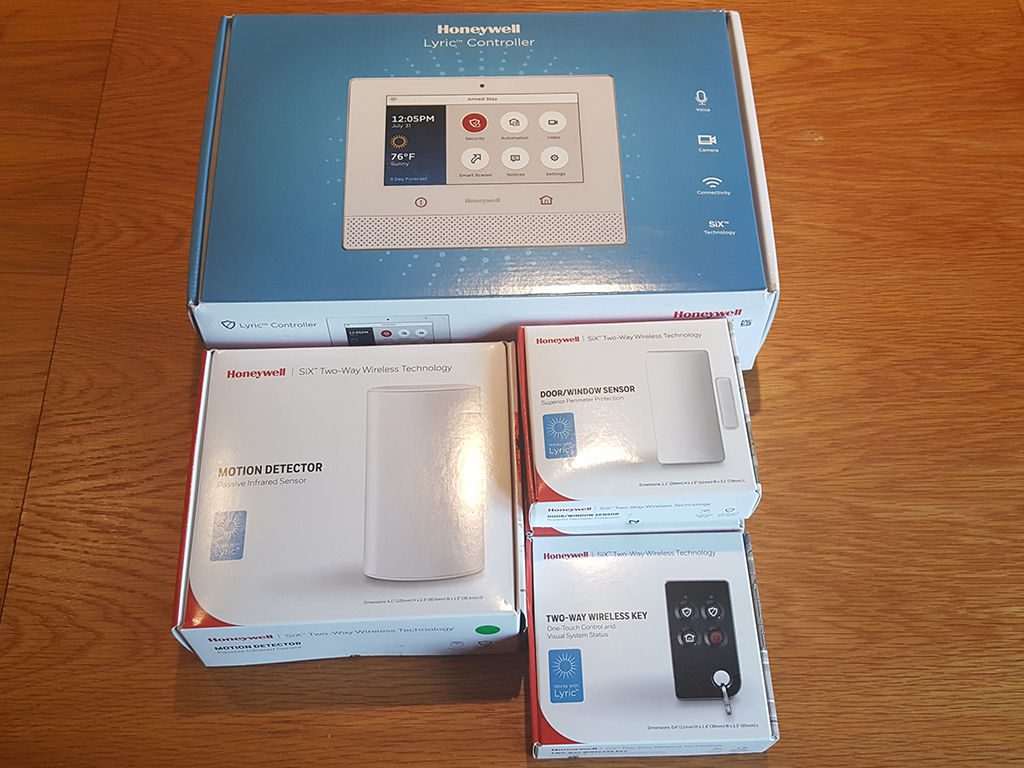
Only a couple of days after talking to the Amazon seller, our alarm system arrived. Let's see what we got.
The largest box is the Lyric Controller. This is the main reason I picked this alarm system. It has a great design and is going to look nice on my wall. All of the sensors I ordered were marked and ready for installation.
Controller Installation
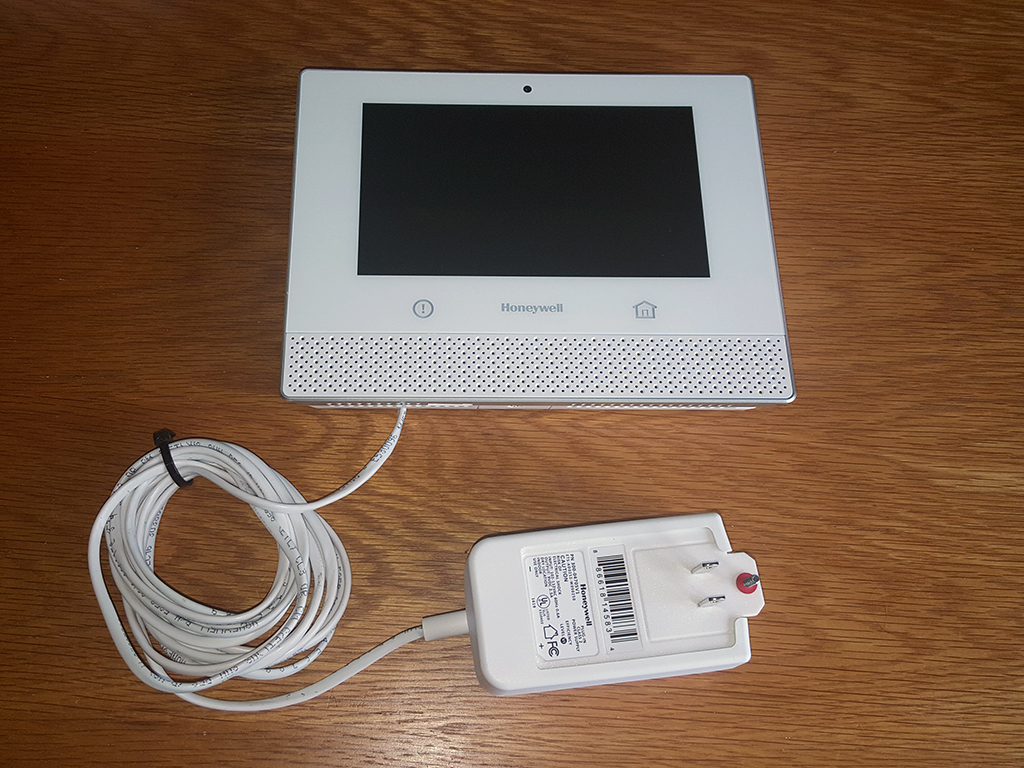
Because I ordered mine with the monitoring package, MonitorU pre-wired my controller and transformer(big plug). If yours doesn't come pre-wired, don't worry. It's only two wires and you have to disconnect it anyway in order to mount it on the wall.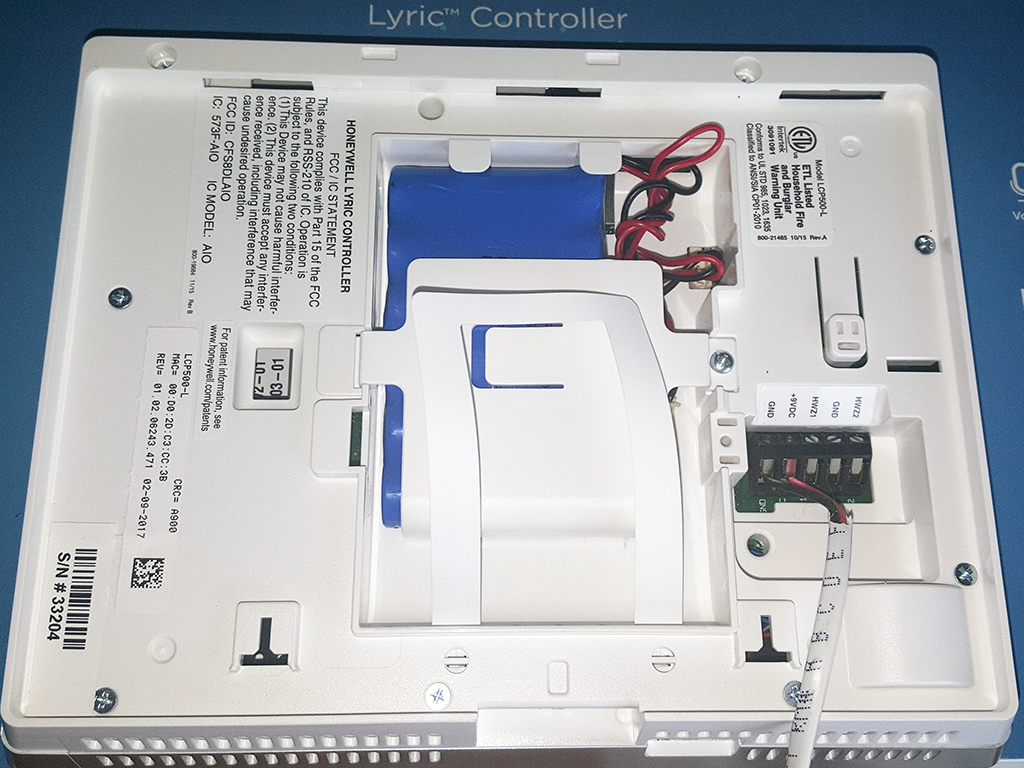
In order for me to install the controller on the wall, I'm going to have to disconnect the red and black wires. For reference, the black wire goes to "GND" and the red wire is connected to "+9VDC". These wires will run through my wall and connect to an included transformer that will be plugged in to an outlet. While you're back here, you'll see the blue back-up battery pack. This is shipped unplugged and will need to be plugged in before you mount it to the wall.
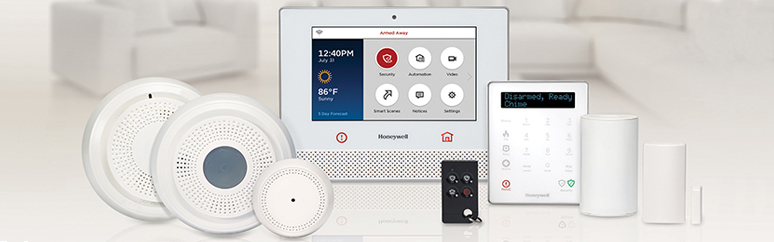
The first thing you'll want to do is pick a spot to mount your controller. If you have multiple entry points, try to pick a centralized spot. The Honeywell Lyric controller is not a keypad that you need to hide. It's looks nice enough to hang anywhere. We'll talk about this later, but it also acts as a digital picture frame.
Once you have the general location, there are three things you need to consider. First, it needs to be hung between two wall studs. Those two wall studs are going to act as a cavity. Second, this cavity needs an outlet to plug in the transformer. ***Make sure the outlet is in the same cavity as the controller*** You are going to have to run the wire we disconnected to that outlet. This is the reason the outlet needs to be in the same cavity. Lastly, are you mounting the controller on an exterior or interior wall. An exterior wall is going to be a little more complicated because the cavity is going to be filled with insulation. This is going to make fishing the wire to the outlet more difficult.
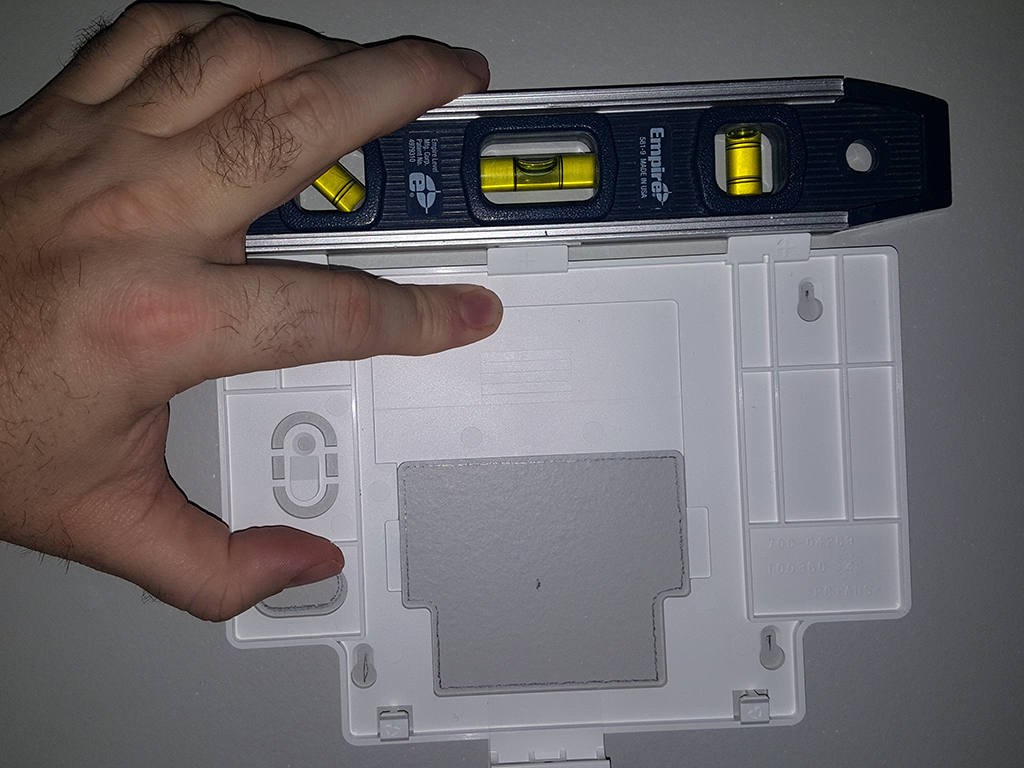
Once you have picked the perfect spot, use the back of the controller as a template. Make sure the template is level, and trace the openings.
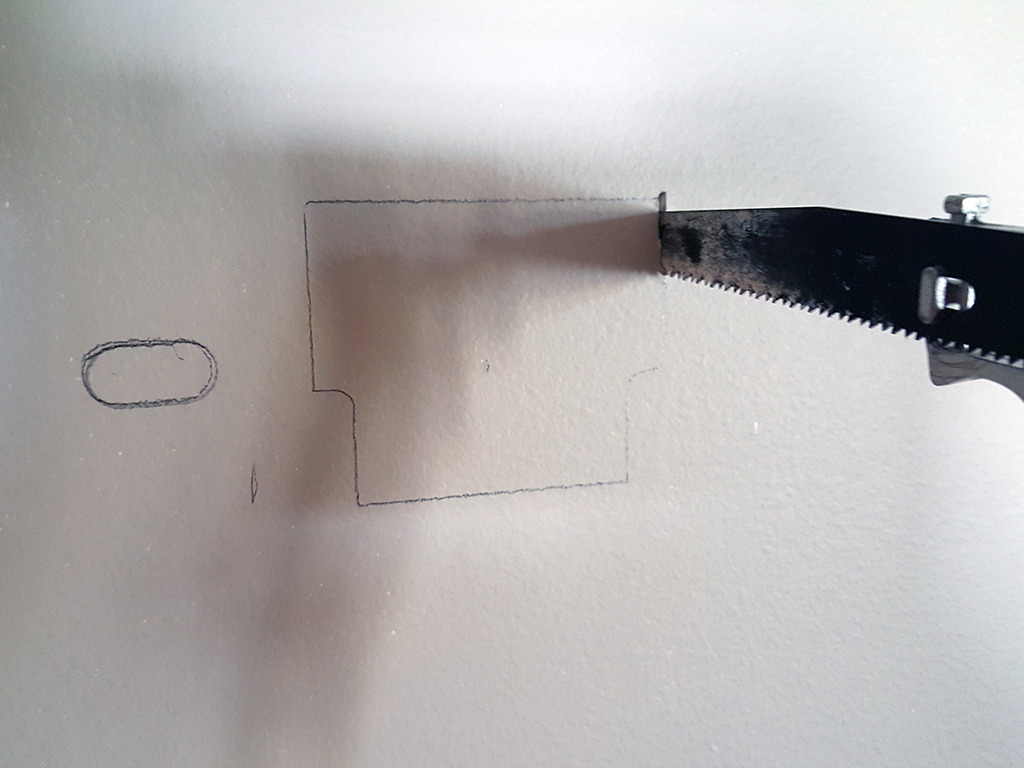 This is the point of no return. Once you plunge the saw, it's going to be difficult to change your mind. Make sure everything is where you want. Before plunging that saw, make sure you turn off the circuit breaker that controls power to the area you're working. Cutting through drywall is very simple. You don't need to make a pilot hole for the saw. A drywall saw will have a point and you can just push it through. You do not need to be exact. Just make sure you leave drywall for the mounting screws and the controller will cover the hole.
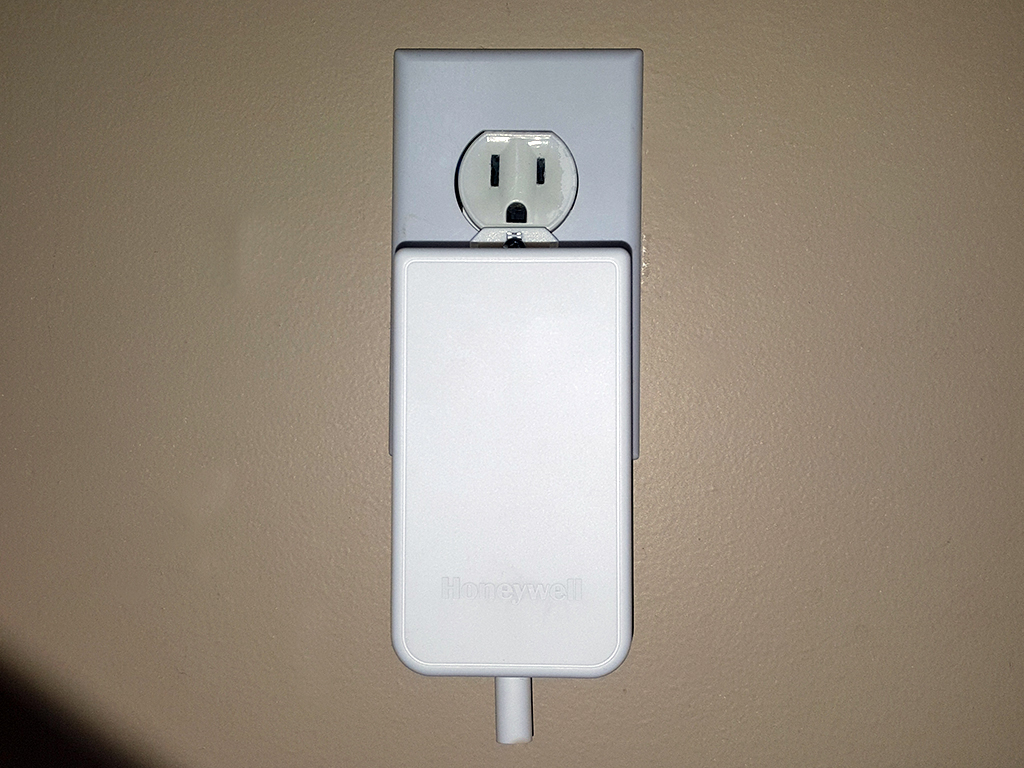 One more hole to cut. Make a small hole beneath the outlet for the other end of the power cable. The hole should be small enough that the transformer covers it when plugged in, yet large enough for you to get a tool or fishtape through to retrieve the cable. Once you get it installed, it will look like the picture. All you will see is the transformer and a small part of the wire coming out of the bottom. They are making tranformers that look a little different than mine. On the new transformers, you don't see any of the wire.
The transformer has a screw that will replace the outlet cover screw. This will hold the transformer in place and also prevent someone from accidentally unplugging it.